Eight-legged Stools
Every one has a story.
Stool #2 - First real attempt at making a stool from hardwood.
Second Stool
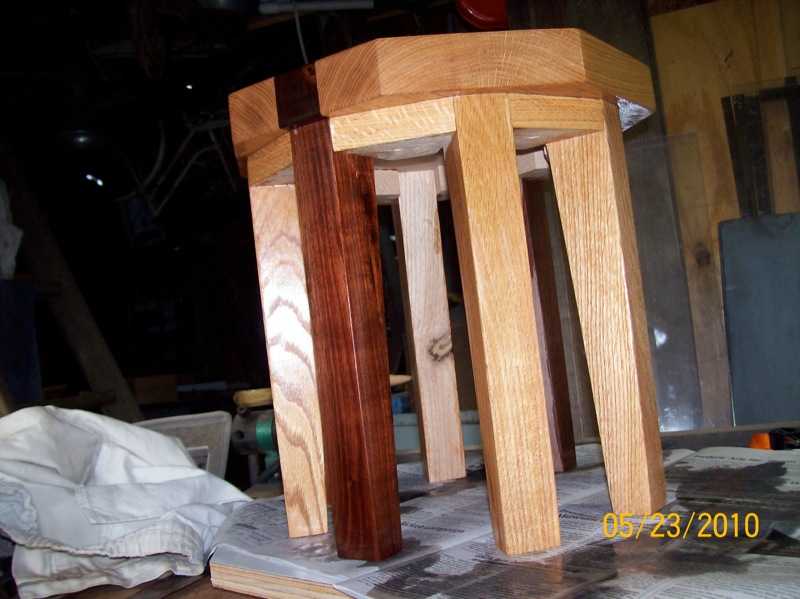
I started cutting the pieces for this stool while I was assembling stool #1; mock-up. (March/April 2010) I put the new fixtures and jigs that I made for stool #1 to use and they worked perfectly (see below ). I still hadn't figured out how to screw and glue everything together. I spent hours (days) trying to design a clamping fixture that would hold the legs in a perfect octagon and straight up and down while I applied glue to each piece and assembled the stool base - more clamping. I finally just used a strap clamp and struggled with the legs to keep them under control while I tightened down the strap ( see below ).
While the glue on the leg pieces was still wet I mounted this new leg assembly onto the top piece. I glued the mating surfaces and then drove a screw through each leg support - both to secure the leg and to straighten each leg. I pledged to keep working on a better design. This one was a real pain in the butt.
I burn wood for heat in our house and I scrounge all the firewood from city streets and neighbors who have trees cut down. Once, many years ago, a friend was getting rid of some black walnut logs he had stored in his garage and no longer had room to keep. He cut these into stove lengths and gave them to me to burn. I thought the wood was too pretty to burn but I also didn't have too much extra room in my garage so I ended up burning most of this (It's nice firewood). I did save a few pieces and after all these years I finally found a use for them. Now I wish I'd saved it all.
Bottom view
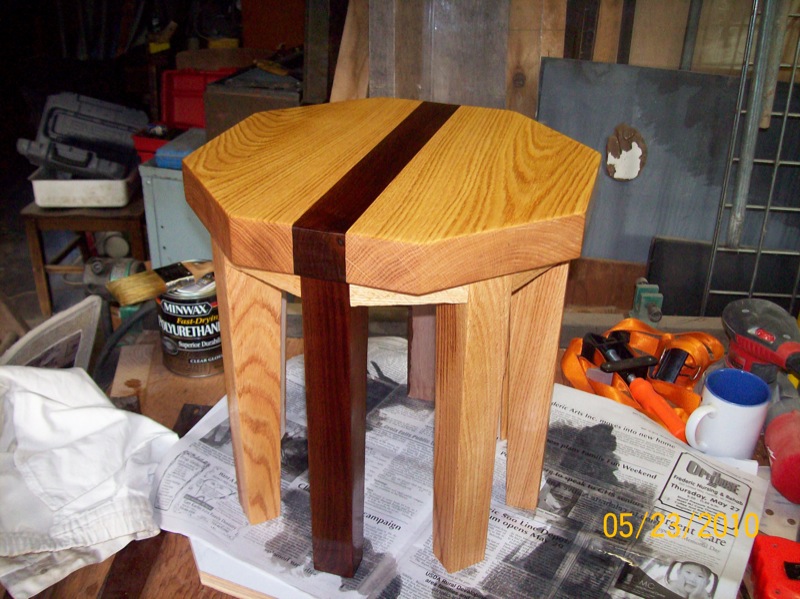
While cutting the pieces for the top I was having a hard time making the cuts smooth enough to glue together. I tried a joiner (at my friend's shop) but couldn't get a smooth surface. I finally cut it carefully on my table saw and got a good edge. But by this time I had cut off too much width to make the top so I decided to fill the difference with a strip of walnut. I added the legs to give some continuity.
I couldn't remember how my brother had oriented the legs with the top. Legs at the corners or in the middle of the edges. So I decided to line up the walnut strip with the legs and this settled the question.
A good use for stools
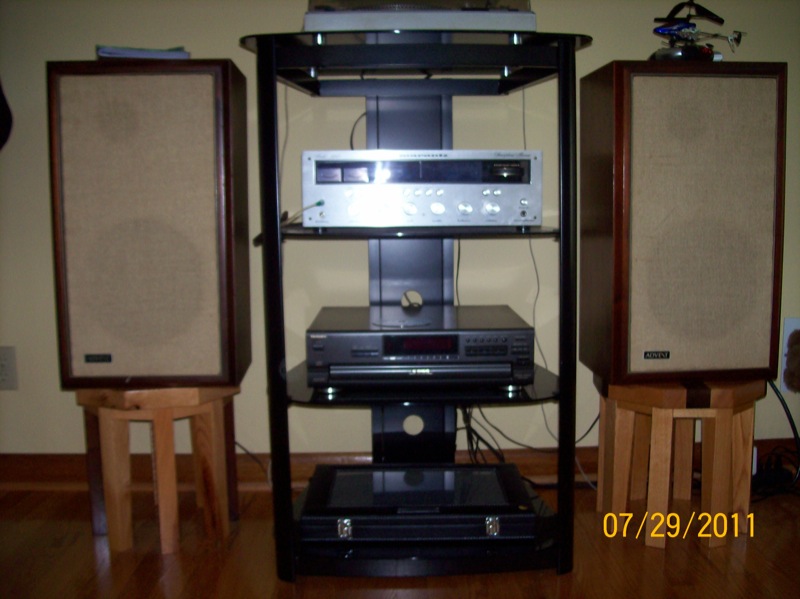
These stools make nice speaker stands. Here are stools #2 and @4. Stool number 2 is on the left and number 4 is on the right.
Stool #2
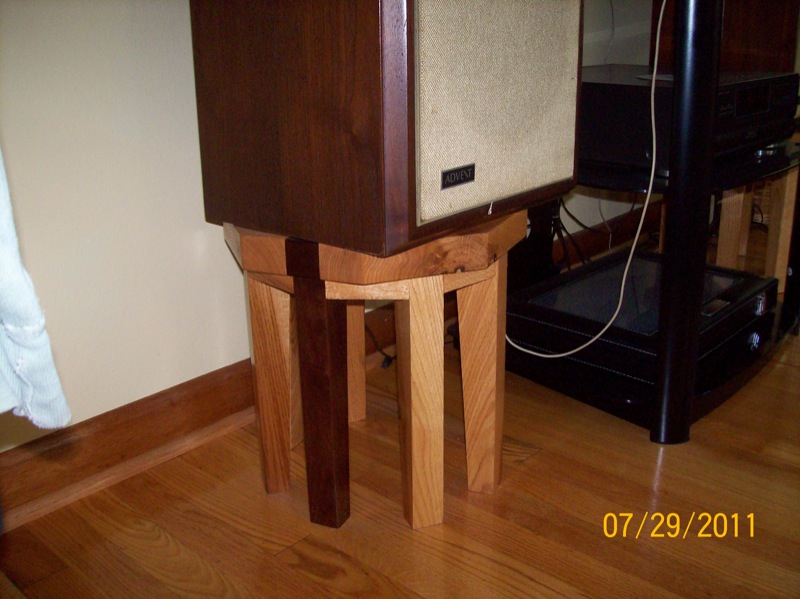
Number 2 with legs aligned to centers of sides. This makes it easy to line up a pair of walnut legs with the stripe down the middle of the top
As I said, I wasn't sure whether the legs should be placed in the middle of the edges or aligned with the legs. So I tried putting them on the corners with stool #3.

Stool #4
I liked how Stool #3 looked so I repeated this design with Stool number 4 - shown here -- has lets aligned with the corners. This stool didn't have any dark legs so lining them up wasn't an issue.
I like this design better than the other and will continue putting the legs on the corners. I think it looks more stable.

Stool #2
Strap clamp used to hold legs together while screwing and gluing to top piece. This process required nearly 8 hands to get everything together and straight.
Althought the strap did a pretty good job of holking things together - in two of the dimensions - it didn't help much in keeping things straight in the third dimension. For this I needed the clamps (and I could have used more.
In the end, it worked pretty well. I vowed at this point to figure out a better way to do this before tackling the next stool.
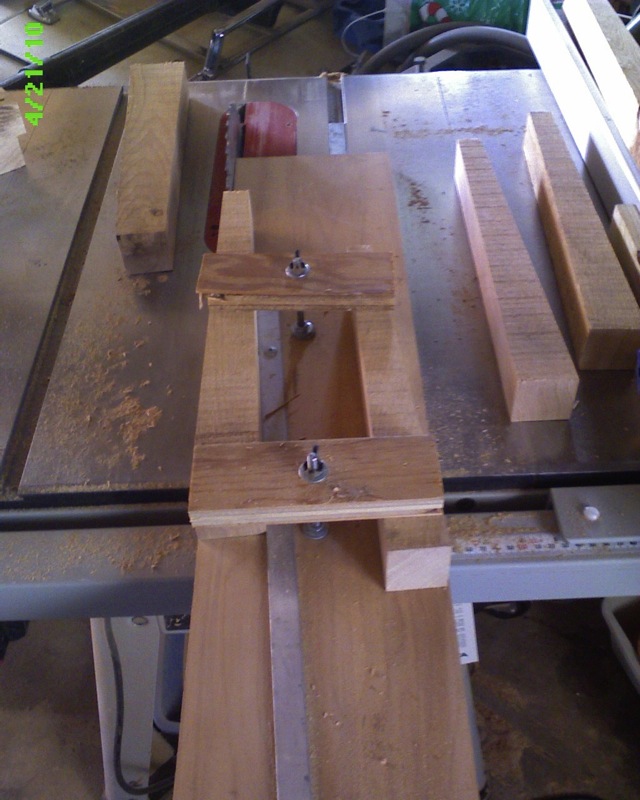
Leg Fixture
Fixture for cutting the tapered legs.
This is a pretty typical taper jig (fixture). I used a metal runner screwed to the top of the board as a guide for the leg. On the underside of teh board there is another metal runner that guides the board down the miter slot on the saw top.
The two hold down boards are held to the sled with bolts running through the base and counter sunk so they won't hit the saw table. These hold the board firmly on the sled for each cut.
I work with rough-cut 2X8 or 2X8 pieces for these stools. I cut a piece to length and then begin slicing off legs, flipping end to end for each cut.
After the taper is cut, I run the legs through the saw to "plane" off the other two (parallel) edges.
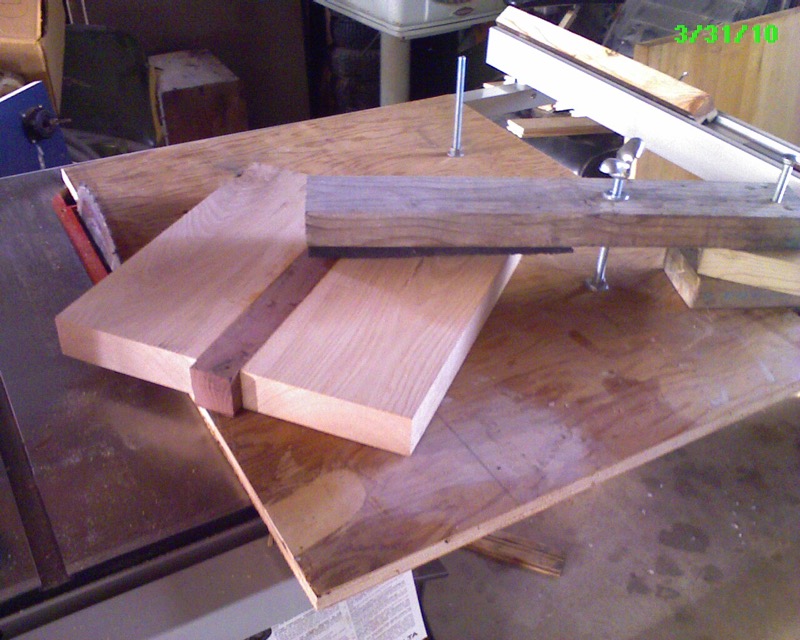
Octogon fixture
Fixture for cutting the octogon top.
This slide holds the glued up square in position for cutting off the 8 sides with equal sides and angles.
First I measure the length of the longest side and pound a small nail part way in at a pint half this distance from the saw edge. Use a nipper to cut that nail off leaving just a slight point exposed. I "sharpen" this point by squezing the cut end at a 90 degree angle to the first pinch (cut). I mark the exact center of the square on the bottom side by pounding a small nail just far enough to make an indention in the wood. Now position the square on the sled by lining up the shapened pivot nail with the indentation. This square piece should now spin easily on this center.
Now rotate the piece so that one side is 45 degrees to the saw. Firmly clamp the piece to the sled with the long hold down arm ( I have a piece of closed cell rubber foam glued to the under side of this clamp arm for friction.
Make the first cut and then rotate the piece 45 degrees counter clockwise. At this point I run a pencil mark along the side I just cut onto the sled. I use this to guide all subsequent rotations which saves having to use the triangle or square each time.
After 8 cuts you will have a perfect octogon. The pivot hole will be on the uner side fo the stool and should be hardly noticeable.